Uncle Ralph's Cabinet:
My uncle was a good woodworker and also machinist. He built a tool cabinet which my
cousin offered to me after he passed away. I grabbed it immediately.
It's not a Studley Box but my Uncle Ralph made it. He even signed
it:
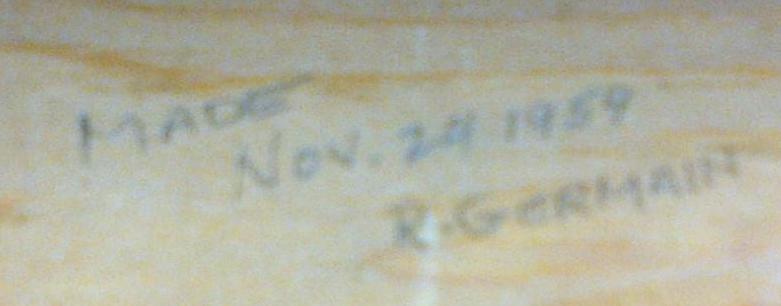
1959.
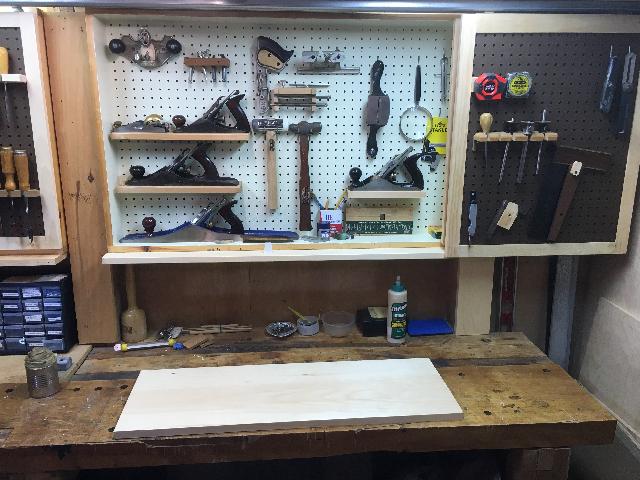
Well this is a keeper. So I hung it over the main bench
with french cleats and populated the cabinet:
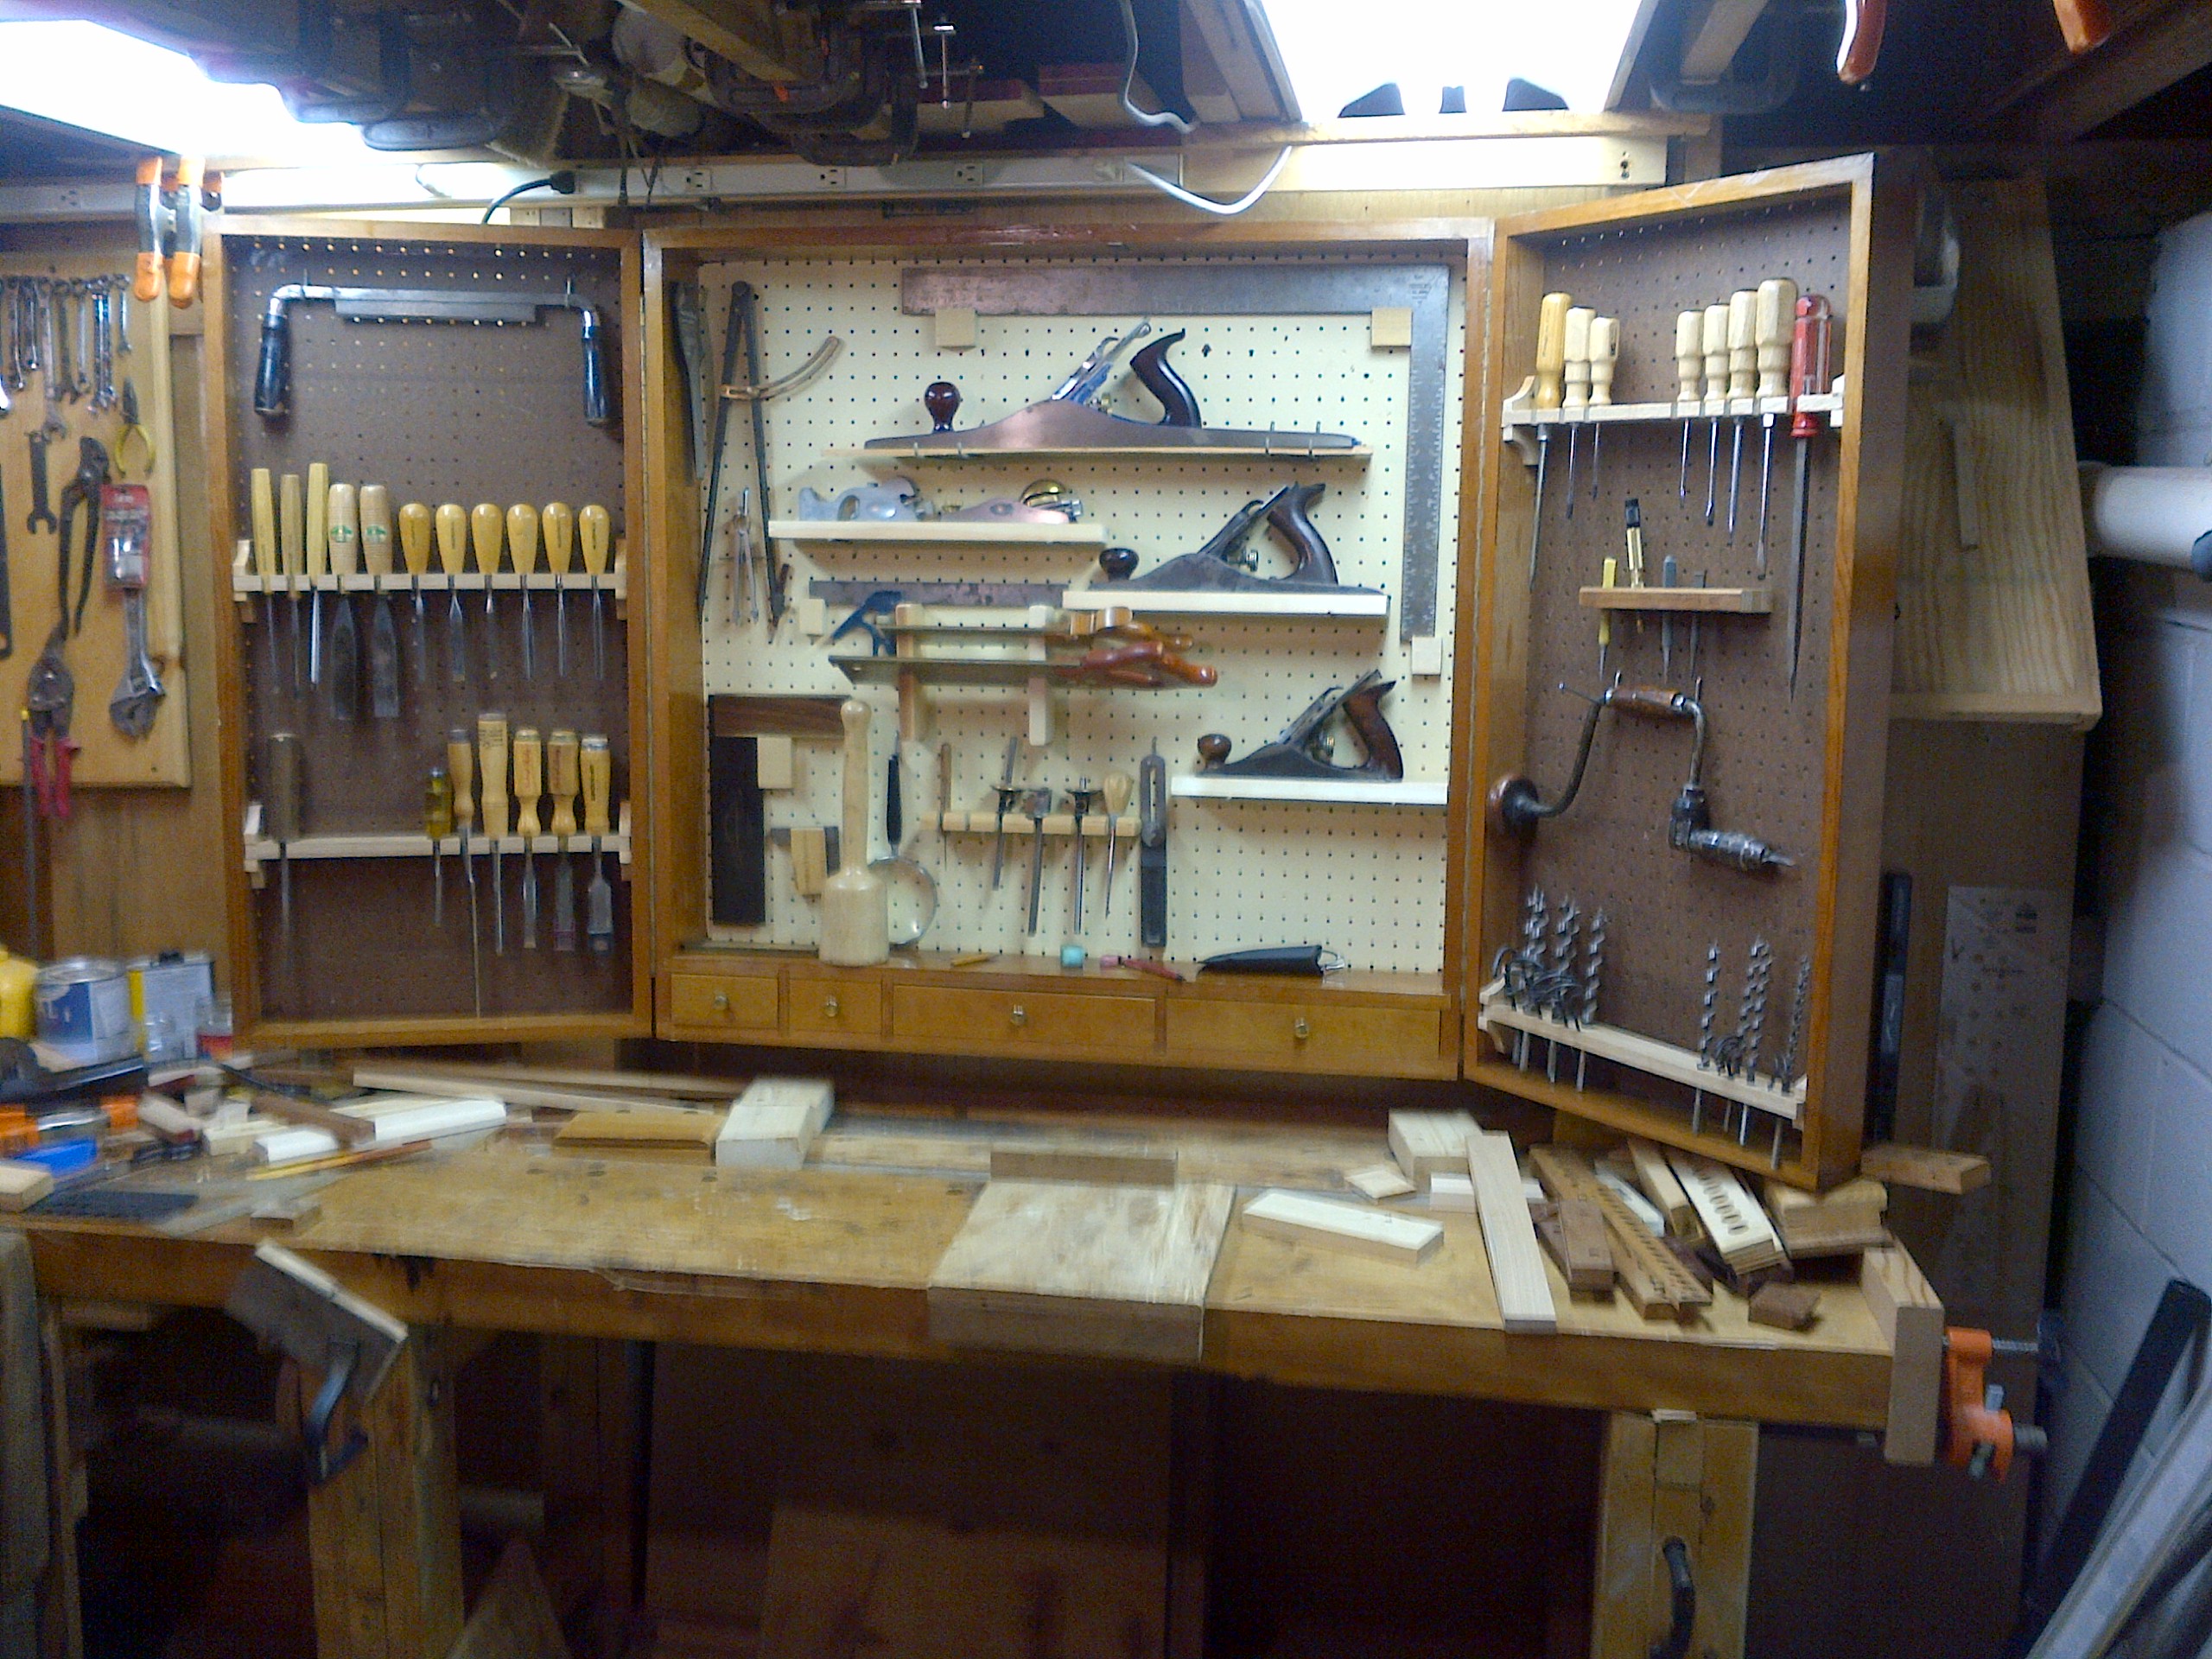
This was a handy and useful change - though you can still see tool boards at the
left of the picture. Also as you see on the right, the door could not fully open
because of the plane storage wedge on the extreme right. And when the door was open
I couldn't get to the planes.
This was sufficient for a while until the inevitable happens...I acquired more tools
And then I acquired an airplane and started to do some sheet metal work.
I acquired sheet metal and tube bending tools and Uncle Ralph's tool box
now holds those.
What to do?
Multi-Surface Tool Cabinet:
Build a tool cabinet of course.
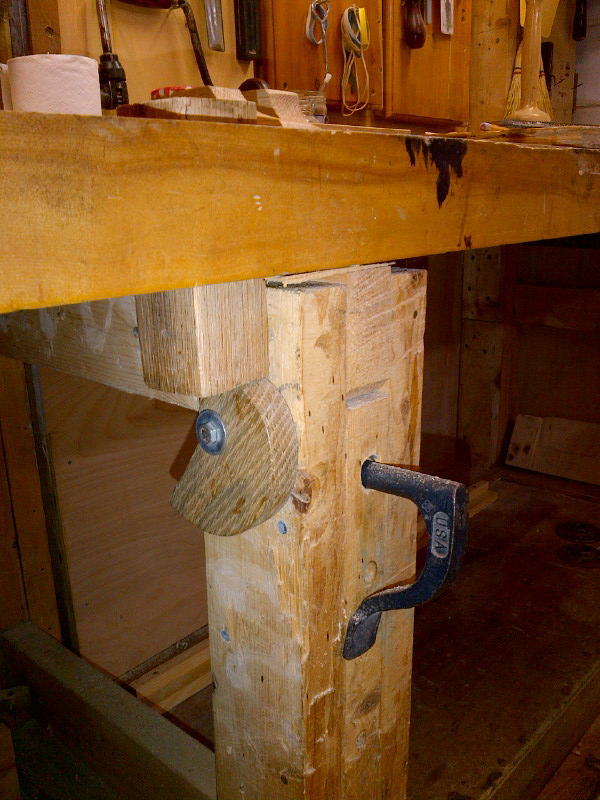
I built a multi-door box that hung on French Cleats. It was 10" deep and had 2 outer
doors. Opening the outer doors revealed two more doors which also swung open:
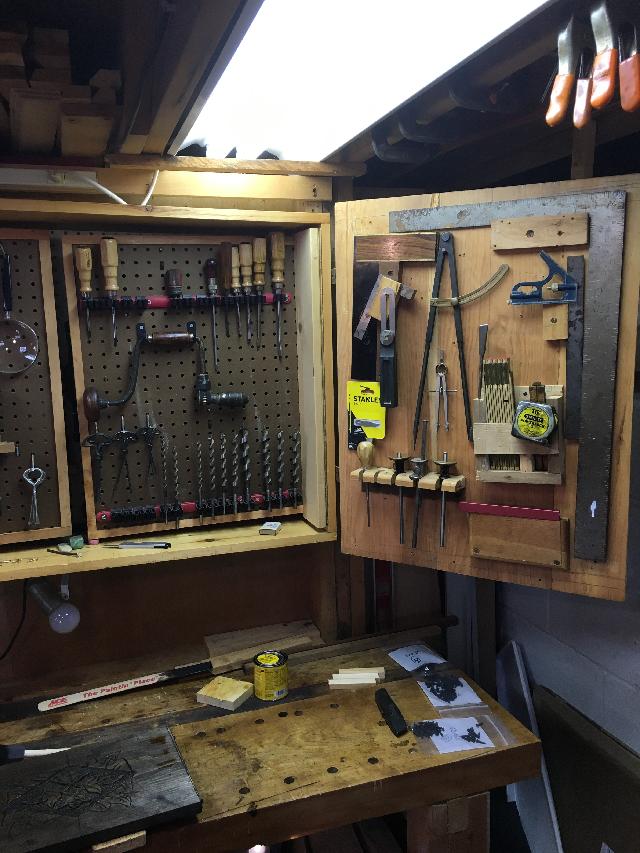
The inner door had tools on either side of the door and if you open that door you
revealed the back of the carcass where my planes were stored:
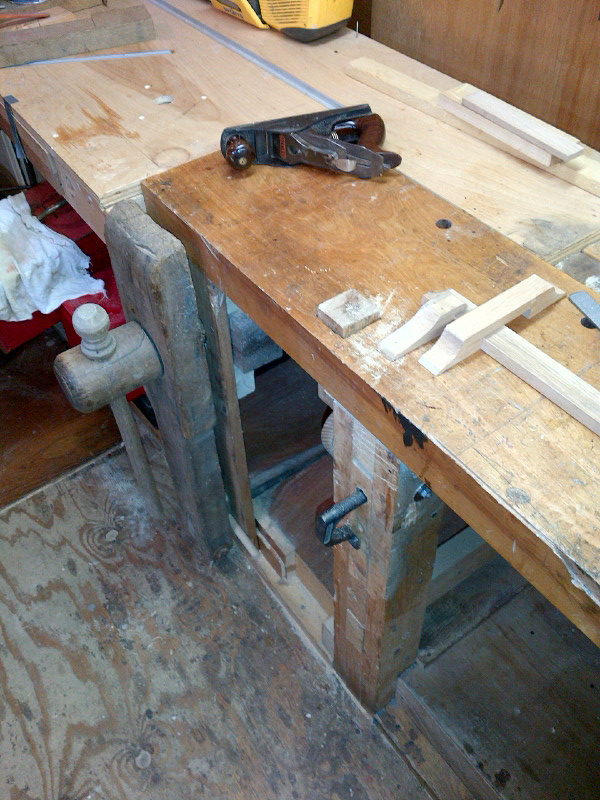
This was a very useful tool box. You could store a lot of tools. However after
using it for a while I was still not satisfied. I was forever flipping doors.
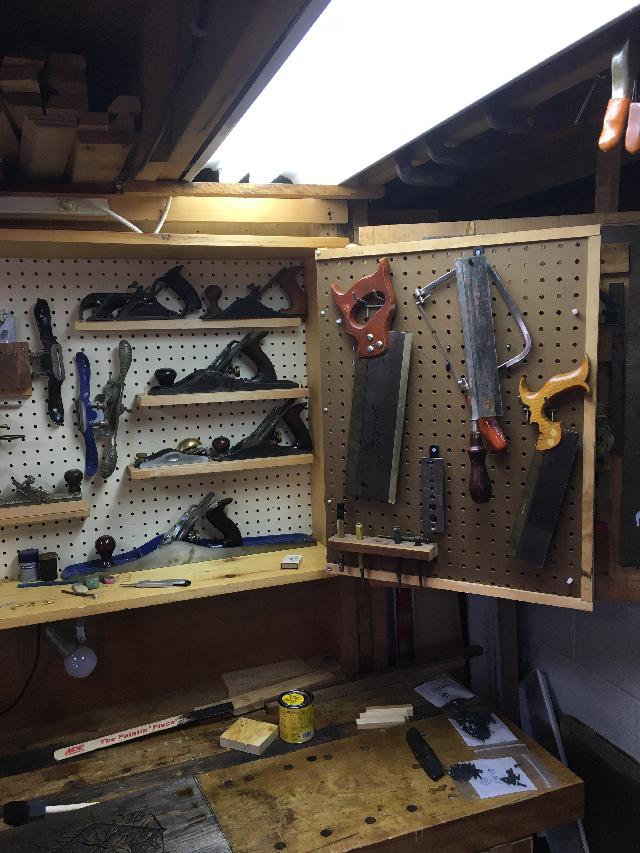
However, this picture shows the main problem:
You open up one door...you block the door of the cabinet next to it. Need a wrench?
That's in the left hand cabinet. Another problem was that the 10" deep cabinet cast
a shadow on the work bench creating a dark space underneath it. I had to mount a light
on the underside of the cabinet to see (as you can see in the picture). And you had to
be careful you didn't hit the light with your backsaw.
I lived with this for a while until I could think of something better.
Tool Cabinets with Sliders:
In order to think of something better I used my usual method of searching the web for ideas
There's no lack of crafty and useful ideas out there.
One idea that appealed to me was the concept of sliding tool boards. In one Small Shop
article someone had used sliding tool boards which ran on the same sort of tracks that
bedroom closet bypass sliding doors run on. This system has three advantages:
- Easy to find the hardware.
- Closet doors are heavy - there would be no problem loading the doors up with tools.
- Bedroom closet doors are wide - you can get 9 foot track. You can also get shorter track
So I got a 9 foot section and a 3 foot section to make 12 feet of track for sliding boards
This would cover my main bench (7 feet) but extend beyond the main bench to the right
and well beyond the main bench to the secondary plywood bench to the left.
Since they are bypass doors, you can have 2 layers of doors one in front of the other.
They slide past one another. Behind the two layers I have space for more storage. Seems
like a carcass ought to go in there because there are "bays" created by the 2x4's I use to
support the bench and the back wall.
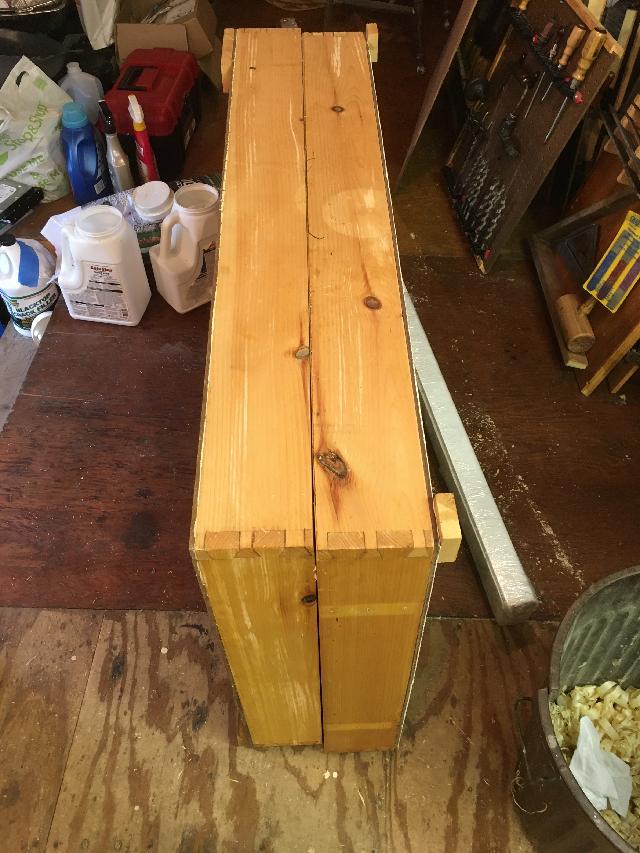
So what I decided to do was to cut the 10: carcass in half to make 2, 5" deep carcasses,
:
and fasten pegboard on the back of the half which had no back:
Hung in the bays, they look like this:
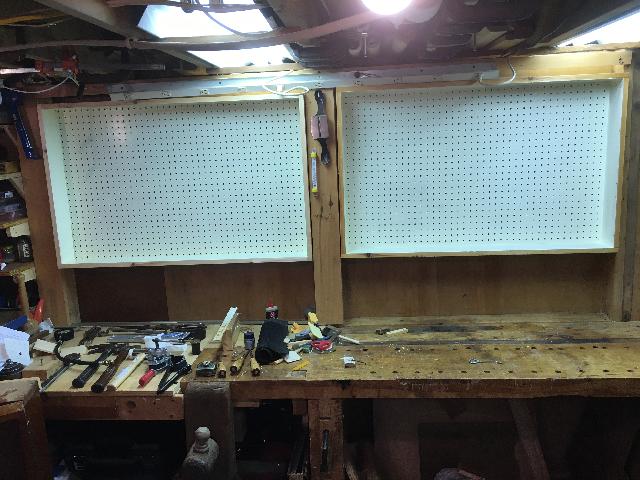
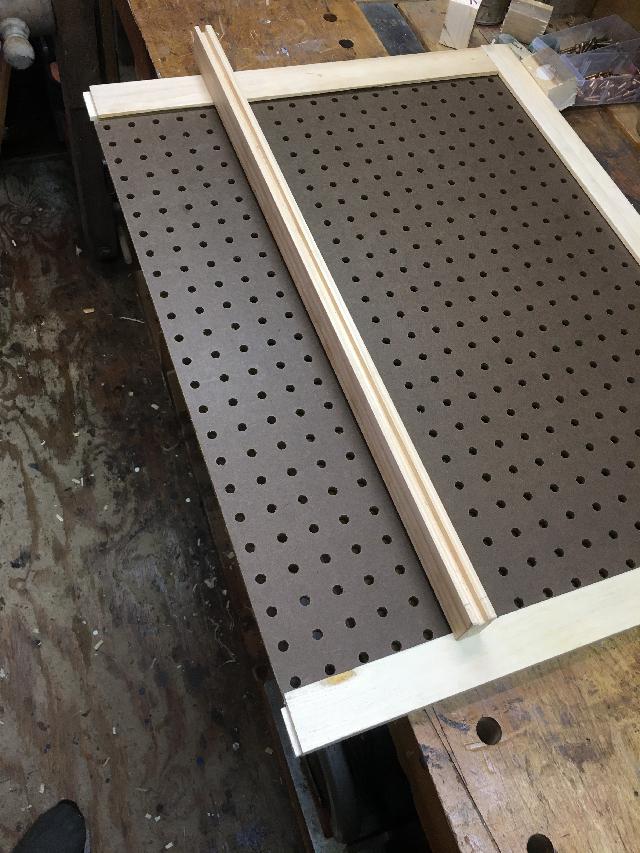
Each slider was 26H x 22W and made from pegboard framed in pine:
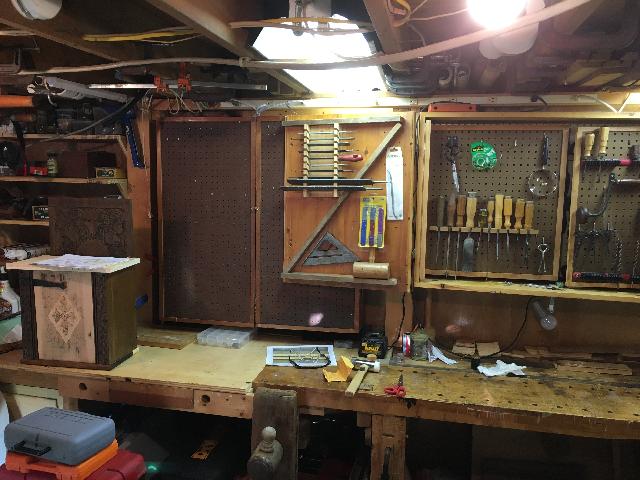
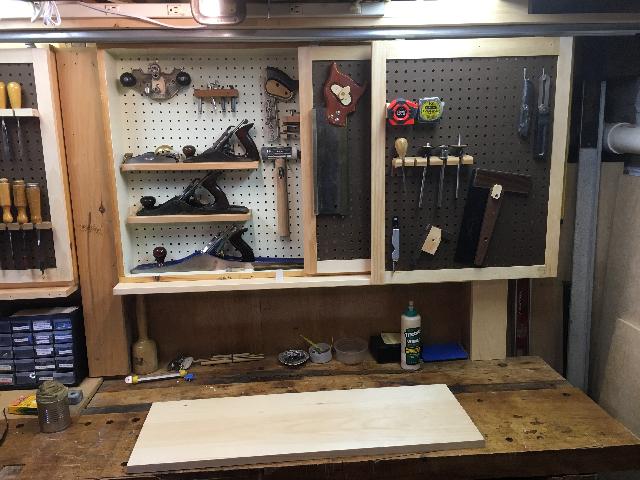
The finished system looks like this:

As I built the sliders and played with the tool organization, any tool that I had not used
in the last few years - or ever - was sold or given away.
As I made these sliders I took careful note as to which tools I used, and in what order.
With 12 feet of bypass sliders, I wanted the tools I used first and most to be over the main
bench which is all the way to the right. The less I used a tool, the farther to the left is was
stored on either a slider or a carcass. I have two carcasses in 2 bays as you see above
and then I have a bay with 2 sliders all the way to the left which hold tools that I
rarely use but which I'm not quite ready to get rid of.
Standing at the man bench and looking left the rarely used tools are the furthest away from me:
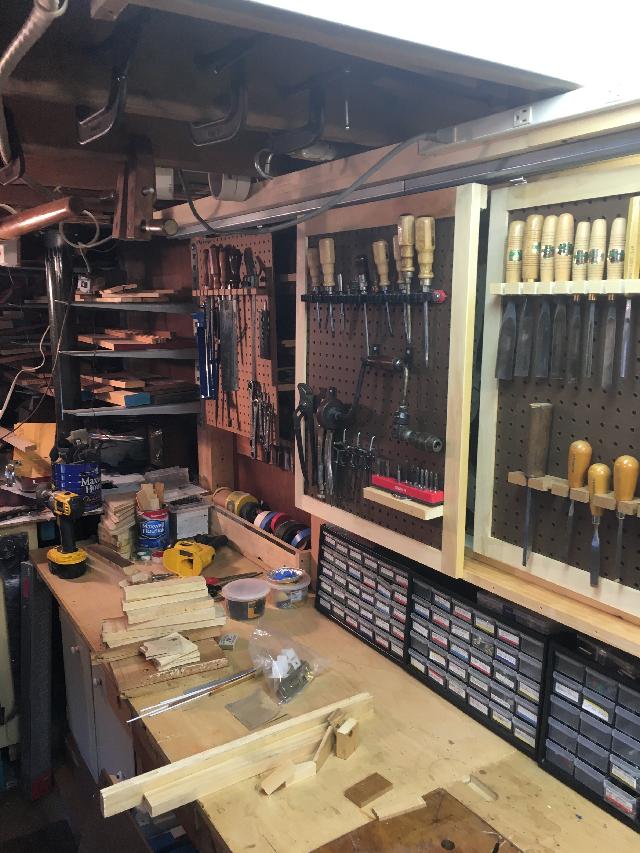
Standing at the main bench, I can reach the slider you see with the screwdrivers.
So when I need that slider it can be pulled in front of me or close enough.
In front of the main bench are two bypass sliders each of which are half the width of the
carcass and the same height. So both cover the main carcass:
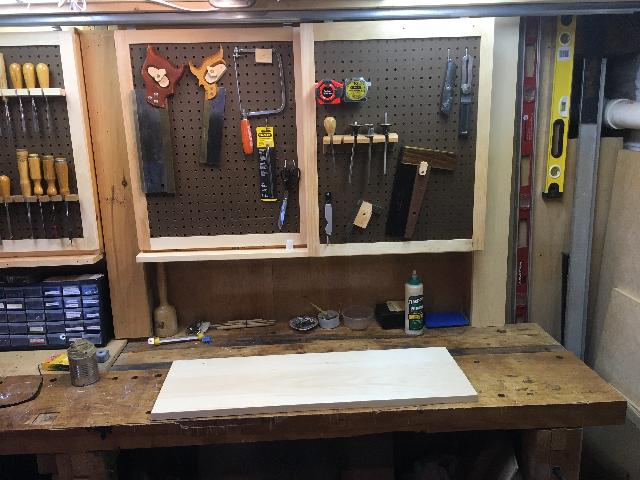
Both of these can be pushed to the right and out of the way revealing the main carcass:
But I noticed that my workflow is typically:
- Mark
- Saw to length
- Plane
So this positioning gives me access to everything I need at one time:
And if I need to make a knifewall when marking, the chisel slider is right there
on the left hand side of the picture.